Make #6 & #7: A SCOBY and Kombucha
I’m always on the lookout for flavourful cold beverages that aren’t full of sugar. I get bored of water after a while and it’s nice to have a bit of variety. So far the best I’ve found is beer, which isn’t really a viable option when it’s the middle of the working day. Tea is my go-to drink when it’s cold, but I never really got into drinking it on a hot day in summer. When I discovered kombucha, a type of fermented sweet tea, I figured I might just be on to something. It has a slightly sweet, slightly sour, nicely tart taste to it and is naturally carbonated (though I’m still experimenting with how long the secondary fermentation needs to be to get the right level of carbonation).
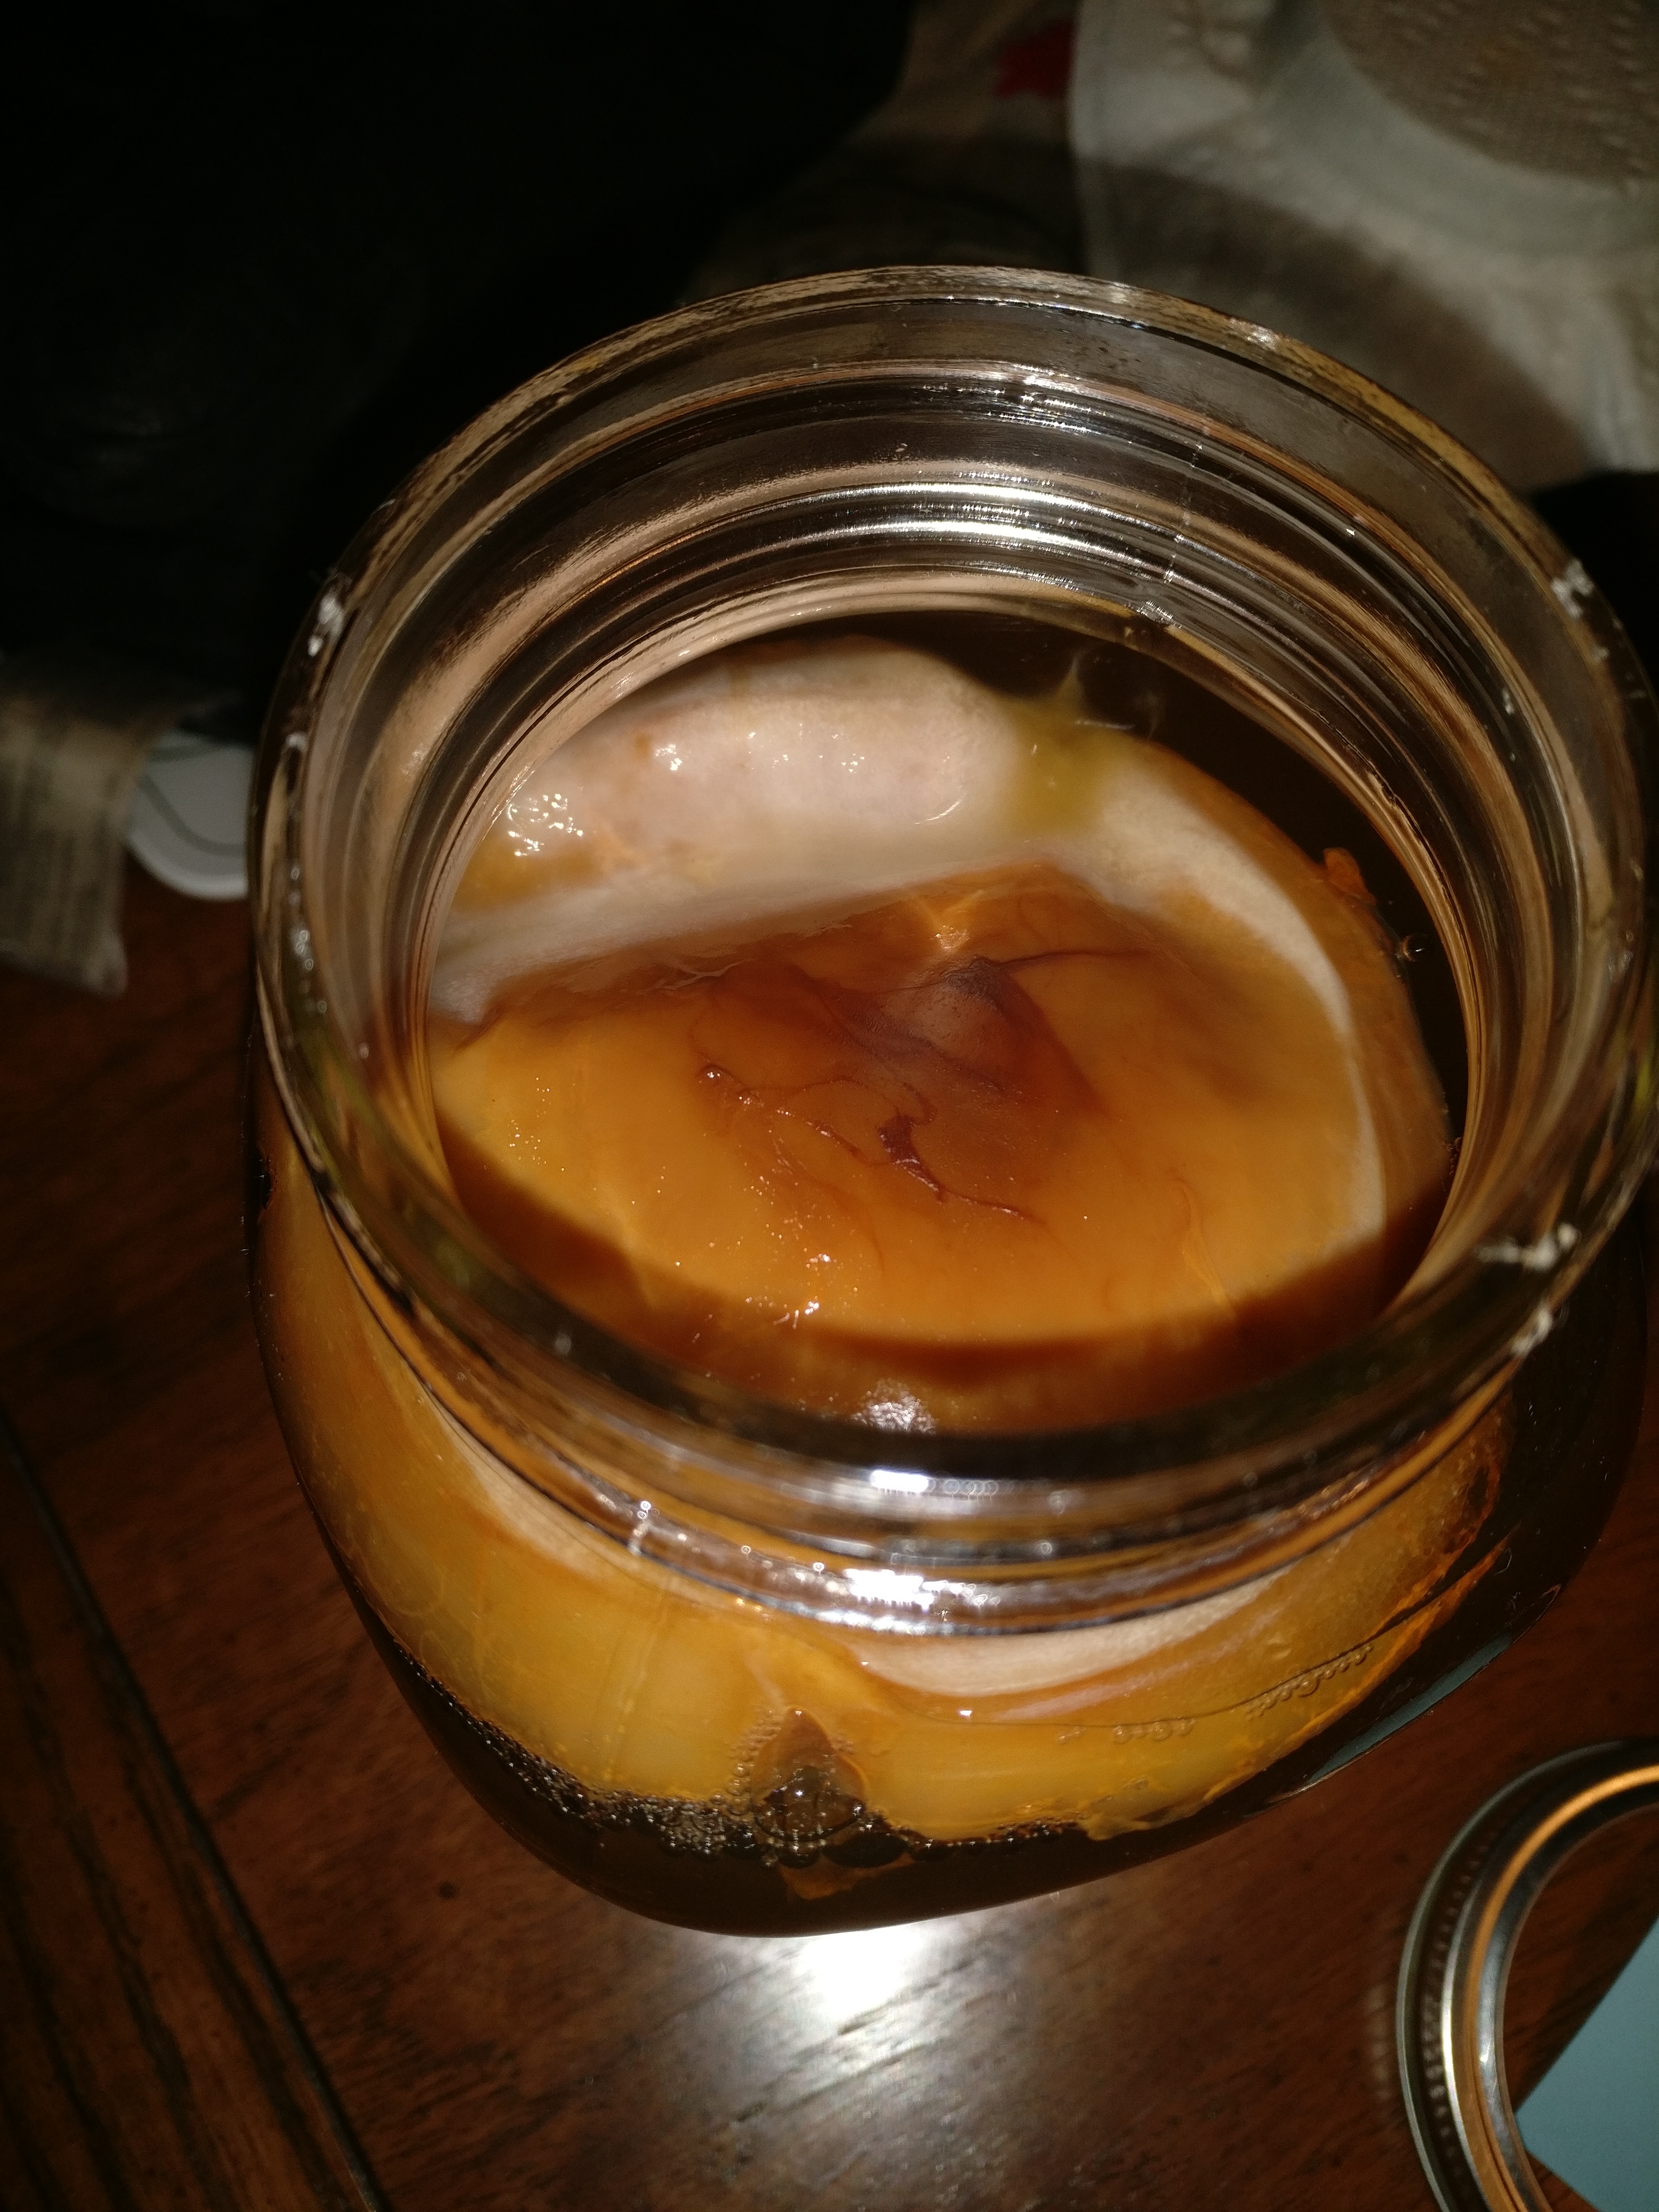
To brew kombucha you need a SCOBY to start. A Symbiotic Culture Of Bacteria and Yeast. These look pretty weird floating in the fermenter, but they’re what help turn cold sweet tea into a delicious fizzy beverage. You can buy these, but it’s almost as easy to make them. I bought a bottle of raw kombucha from a store, drank most of it and then used the last bit (about 60ml) to start off a SCOBY. I brewed about 700ml of sweet tea (a quarter cup of sugar and at least two tea bags of black tea), chilled that to room temperature and then added the 60ml of kombucha. I then put this in a large mason jar with a paper towel over the top (held on by the screw band) and left it for about 3 weeks. Over this time a SCOBY formed at the top of the jar and the liquid became more and more vinegary.
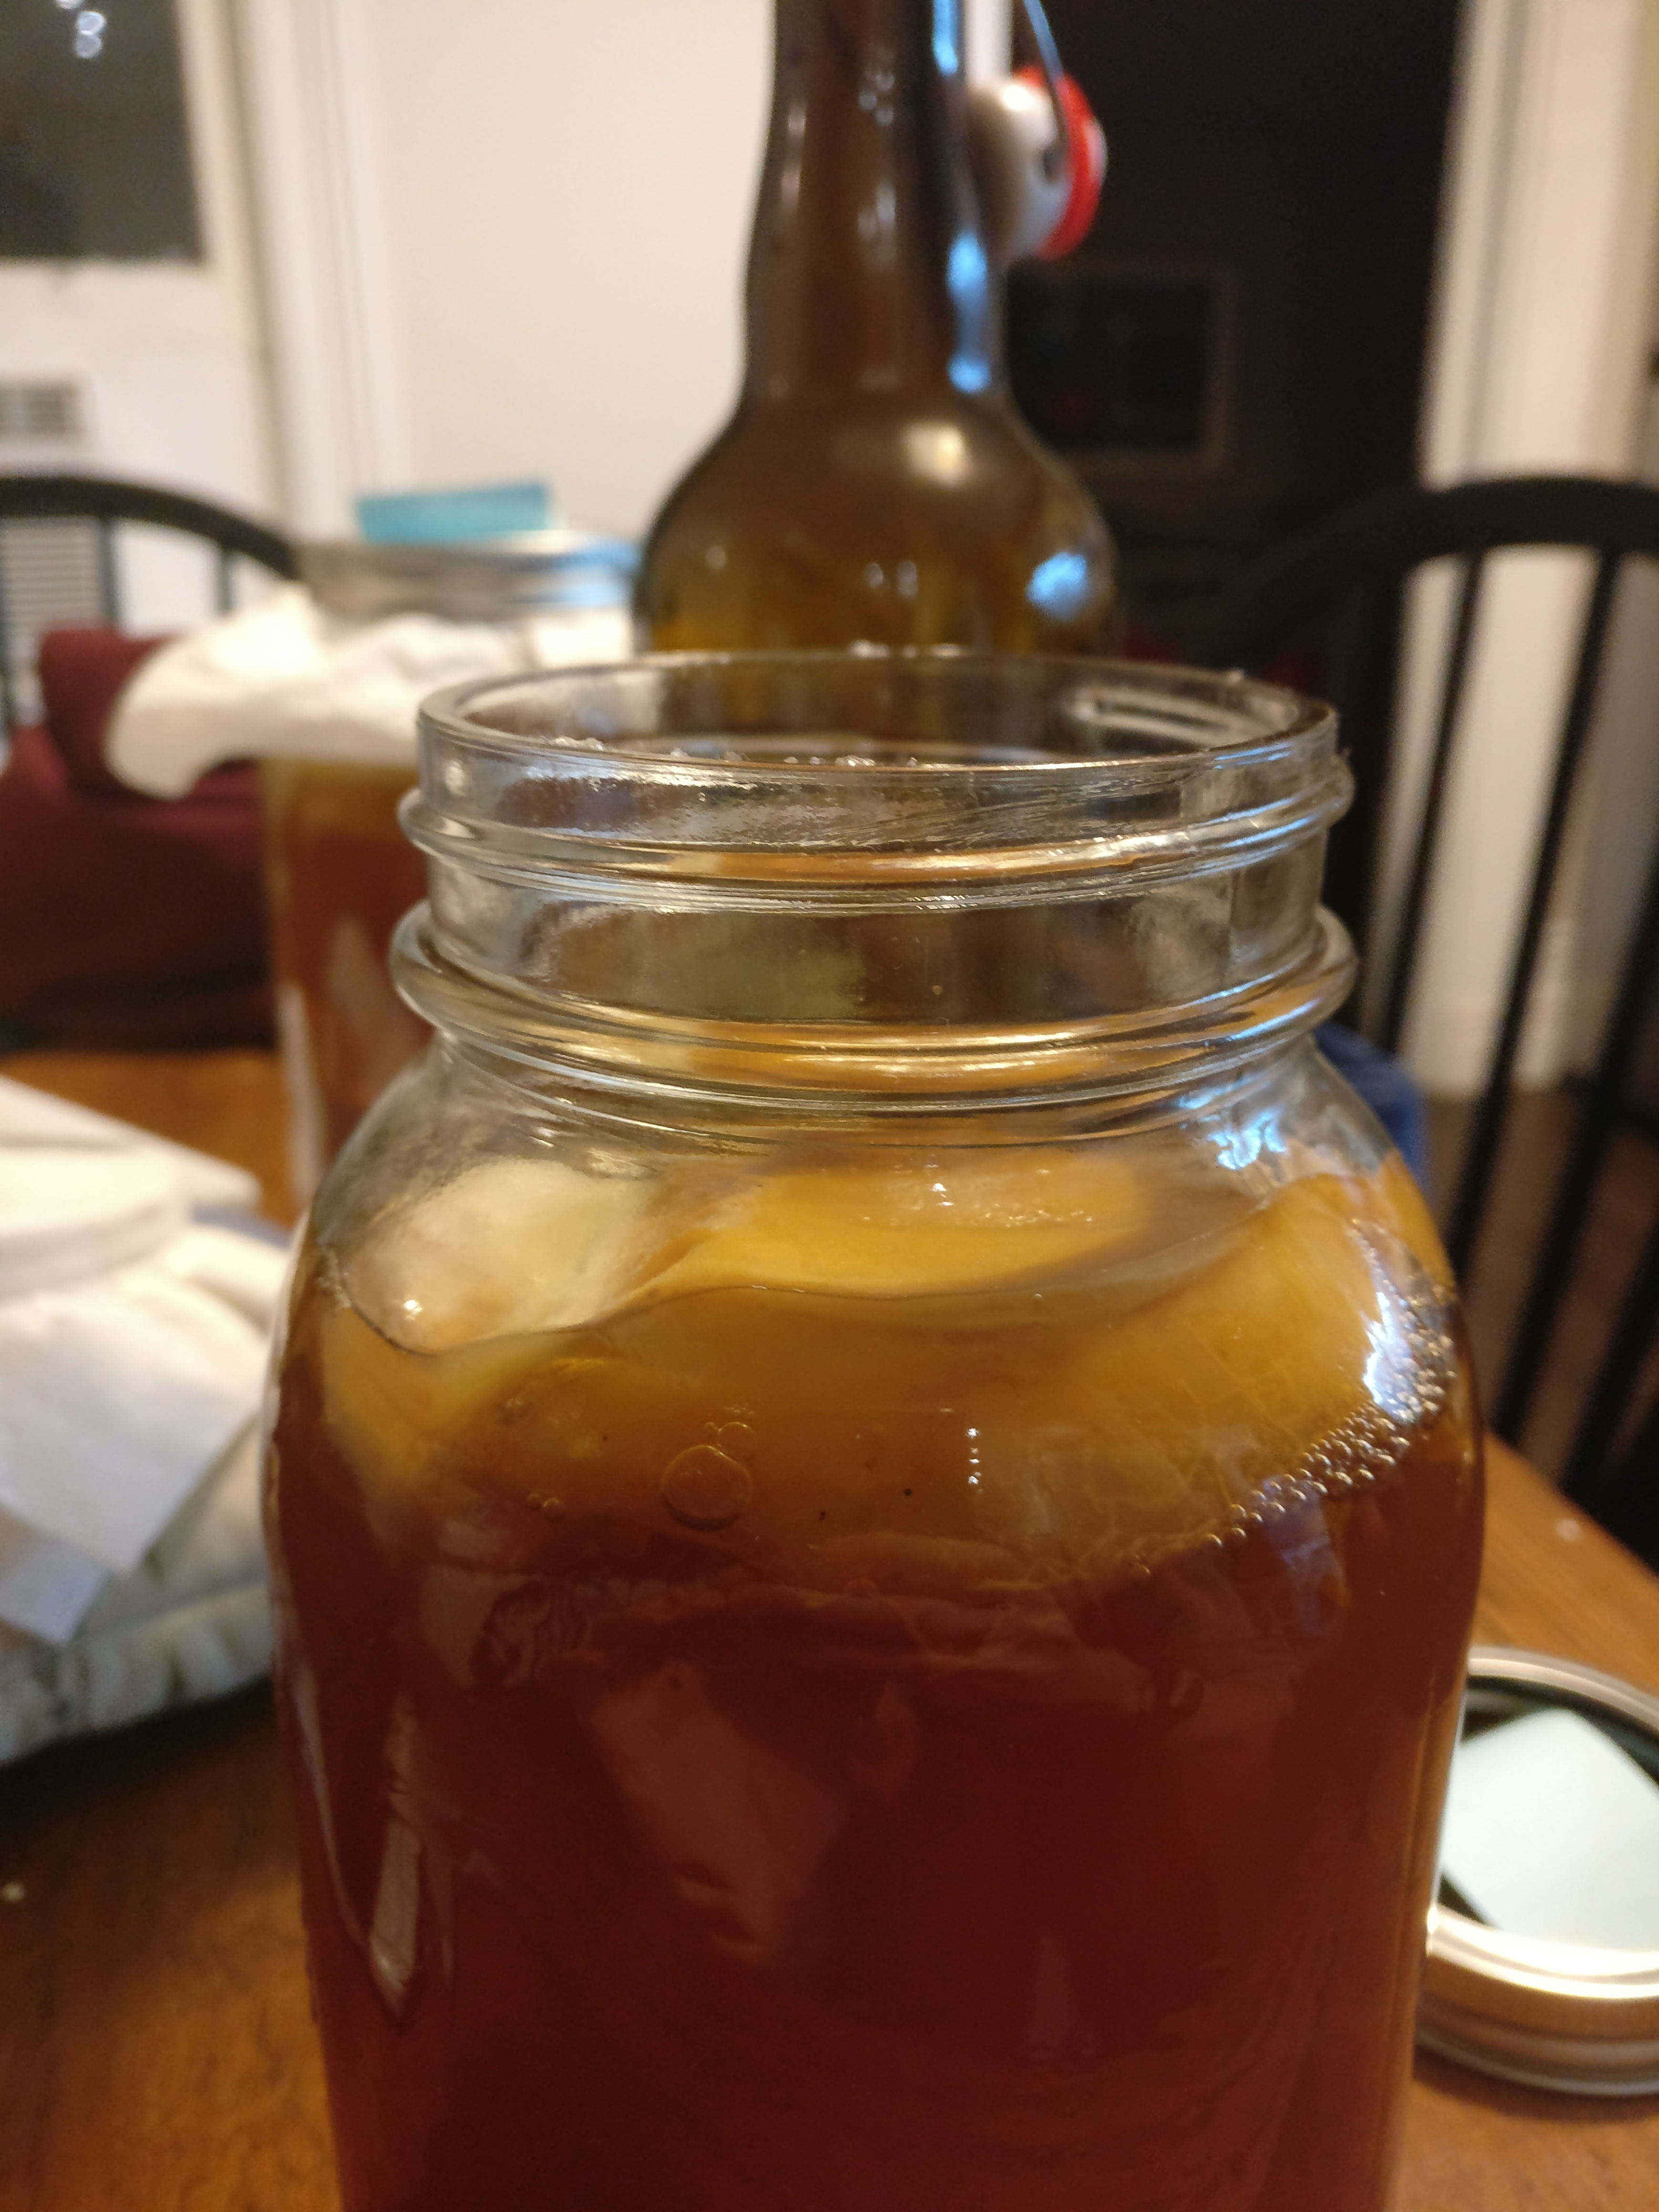
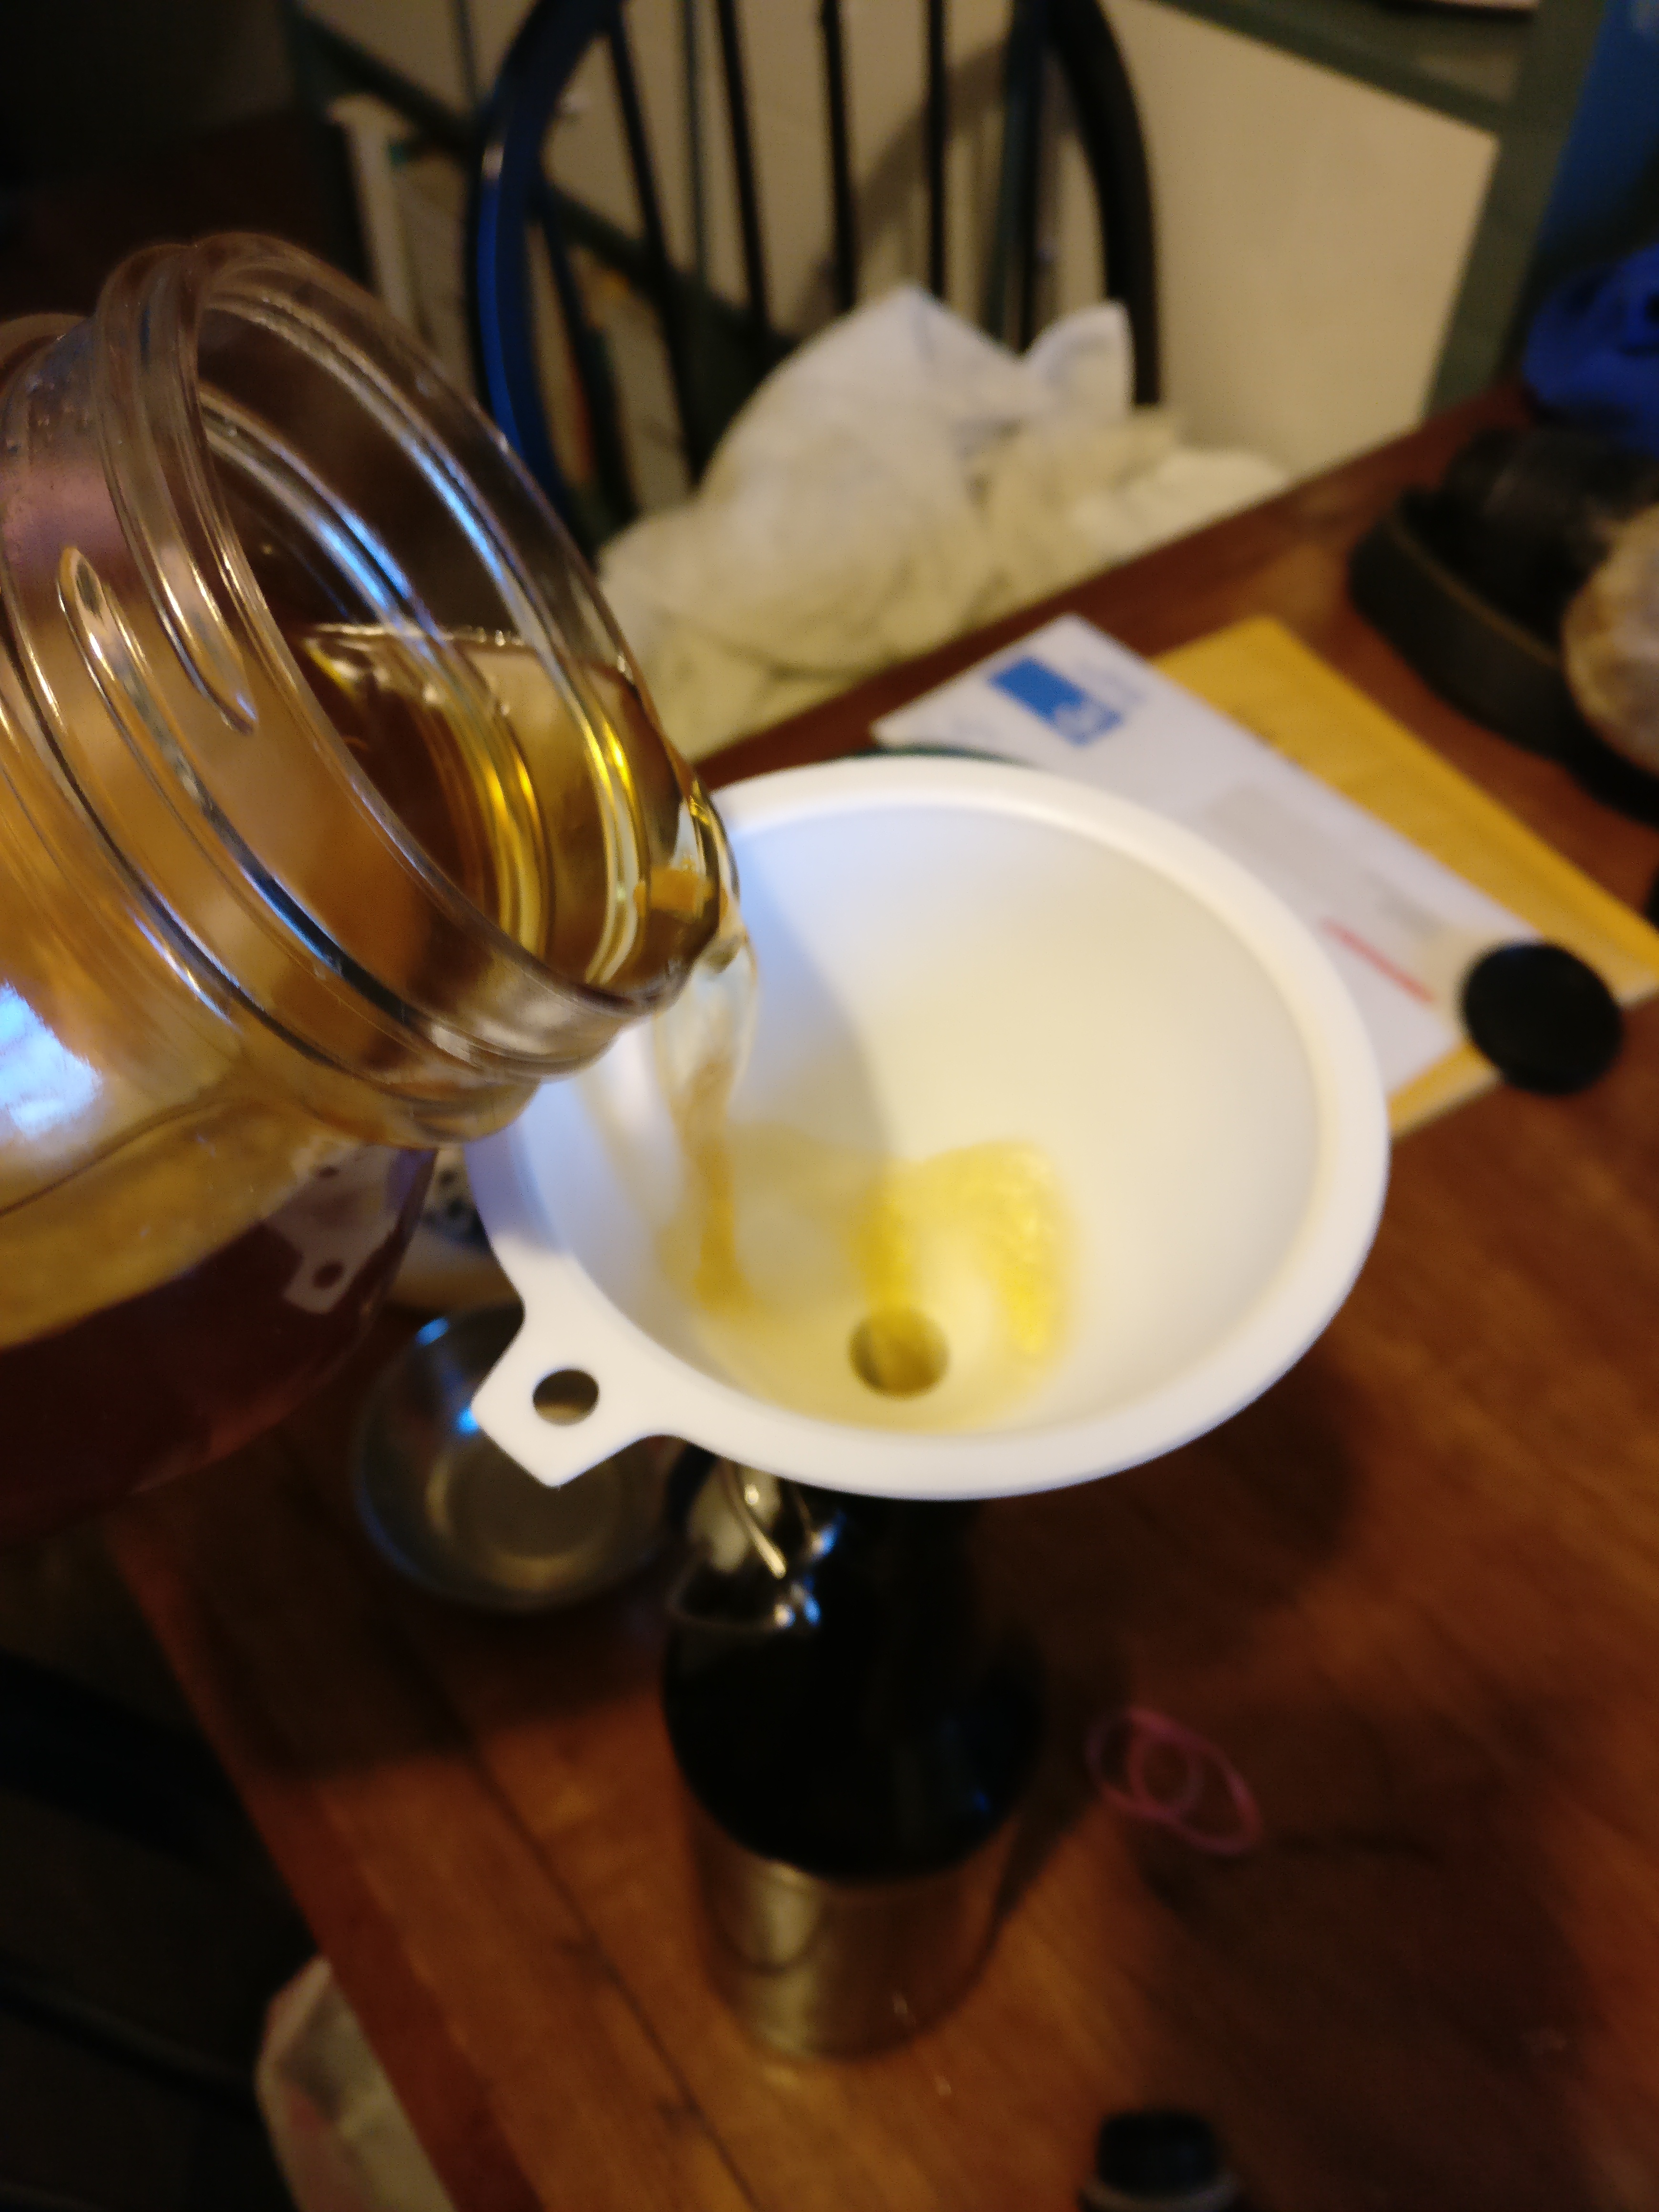
Making kombucha is pretty much the same process as I used to make the SCOBY, it’s just faster because you start with a much larger colony of yeast and bacteria to get the fermentation process going. Brew the sweet tea with the sugar as before, let it cool to room temperature and then add some of your last batch of kombucha (less if it’s the batch you made the SCOBY in as it’ll be more vinegary than you might like) and the SCOBY. Let this ferment for about 10 days or so in a jar covered with paper towel or a clean cotton cloth. You can taste it using a straw to remove some liquid as it goes to decide when to bottle. When it’s ready, pour it into swing-top bottles and leave them out for about a week to carbonate (this may be quicker in warmer temperatures) then shove them in the fridge to stop the carbonation process. At this point it’s ready to drink!
If it’s not carbonated enough, try a longer secondary fermentation process, but be careful that the bottles don’t get over-carbed and explode. There are loads of recipes and guides on the internet if you’re interested, you’ve just got to dodge the health nuts who think it’s a magical cure all for everything from the common cold to cancer.
I’ve made a few batches now and have scaled it up a bit. I’m now using a 1 gallon (~4L) mason jar for my current batch so I should have enough to keep me going.